

How To Clean Tree Bark For Crafts
Crafting décor from tree bark can add a lot of character to your home, making it look mature and bold.
But whether you're making simple bark lanterns with your kids or crafting vases, you must first clean the bark to get rid of dirt and insect borers of trees.
There are many approaches to cleaning tree bark, and regardless of how you go about it, it will take time and effort. So, to help you avoid the trial and error I did, I'll take you through how to clean tree bark for crafts in this post.
Table of Contents
- 1 How to Clean Tree Bark for Crafts
- 1.1 Step #1: Trim Off Extra Branches
- 1.2 Step #2: Dry the Piece of Wood
- 1.3 Step #3: Bake the Wood to Get Rid of Insects
- 1.4 Step #4: Clean the Bark
- 1.5 Step #5: Apply Wood Hardener
- 1.6 Step #6: Apply a Protective Coat
- 2 Craft Ideas with Tree Bark
- 2.1 How to Make Lanterns with Tree Barks
- 2.2 How to Make A Tree Bark Mirror
- 2.3 How to Make a Tree Bark Wreath
- 2.4 How to Make A Tree Bark Vase
- 3 How To Clean Tree Bark For Crafts
- 3.1 Equipment
- 3.2 Materials
- 3.3 Instructions
- 3.4 Notes
How to Clean Tree Bark for Crafts
Remove extra branches from the piece of wood and cut it to the desired size. Then, let the branch dry for a couple of months. Then, depending on the size of the wood, use bleach and water solution or put the wood in the oven to kill insects.
Clean the bark using a paintbrush and damp cotton. Next, apply wood hardener and let it dry naturally. Finally, complete the process by applying a water-based poly or tung oil protective coat.
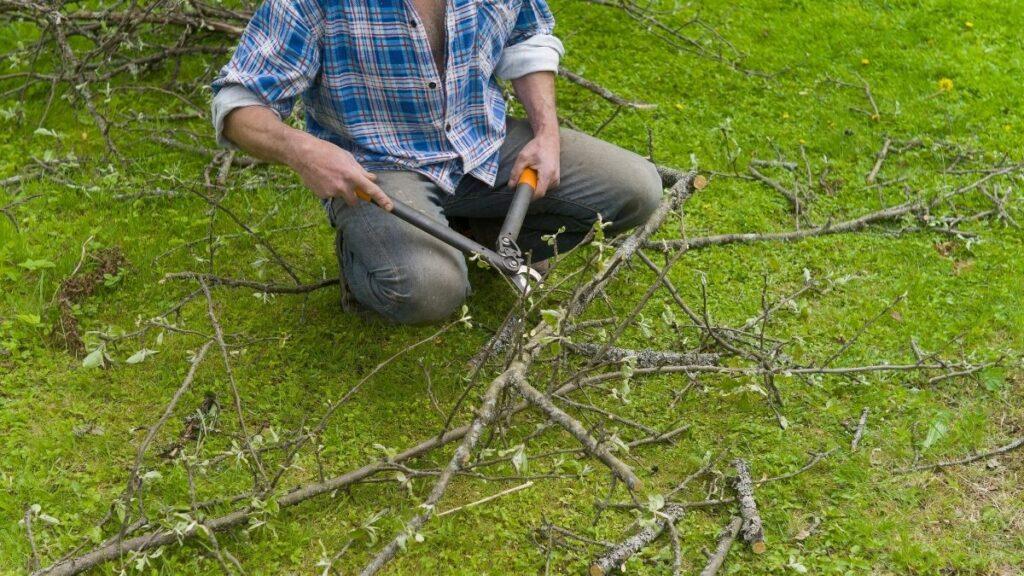
Take a wood piece and trim all the extra branches from it using a hand saw. If the piece of wood is much bigger than you want, cut it to size before drying and cleaning.
Step #2: Dry the Piece of Wood
Let the piece of wood dry out. You can leave it in your garage or anywhere it won't be disturbed. If the wood is freshly cut, it can take between six months and a year to dry completely. It's best to use a branch that fell from a tree for making crafts since it doesn't take as long to dry.
The branch I found was pretty dry already, but I left it to dry in my garage for another month for good measure.
Step #3: Bake the Wood to Get Rid of Insects
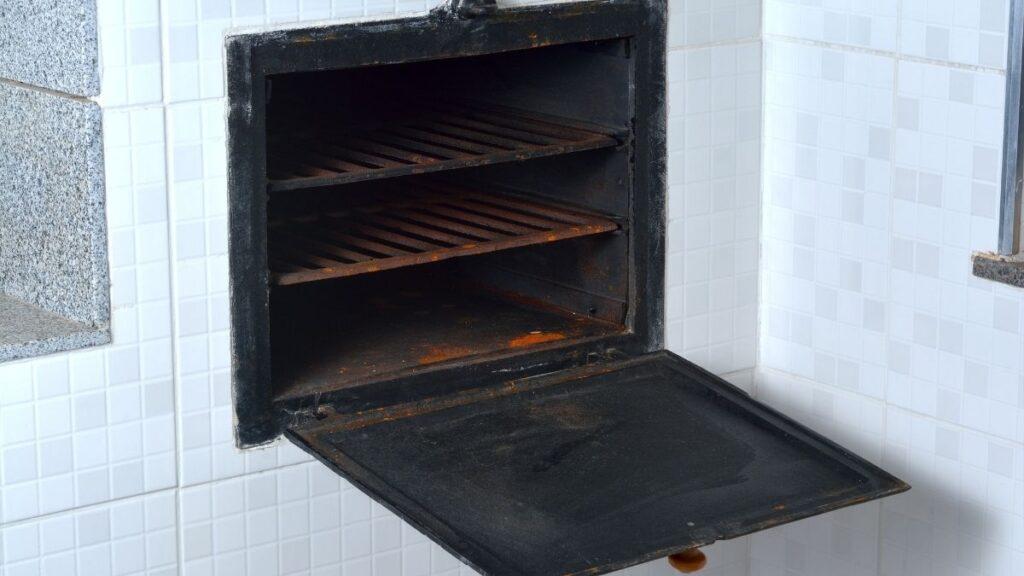
If the piece of wood is 4-5 inches in diameter, bake it in your oven at the lowest setting for an hour. Check the wood every 15 minutes to make sure it's not burning. If the log or branch is bigger, turn the oven up to 250 degrees, and bake for 2-3 hours.
The idea is to reduce the moisture level of the wood down to 12% or lower. Low moisture content makes the wood inhabitable for bugs. Incorrectly stacking wood in the oven will reduce air circulation and slow down the drying process. Stack the logs with sticks at 90 degrees to maximize air circulation.
If you're working with a huge log, soak it in a solution of 1-gallon water and 1/2 cup bleach. Let the log rest in solution for one day as it will kill bacteria and bugs. Then, soak the log for another 1-2 days in water. Keep changing water frequently to extract all the bleach. Next, let the log dry for a few days.
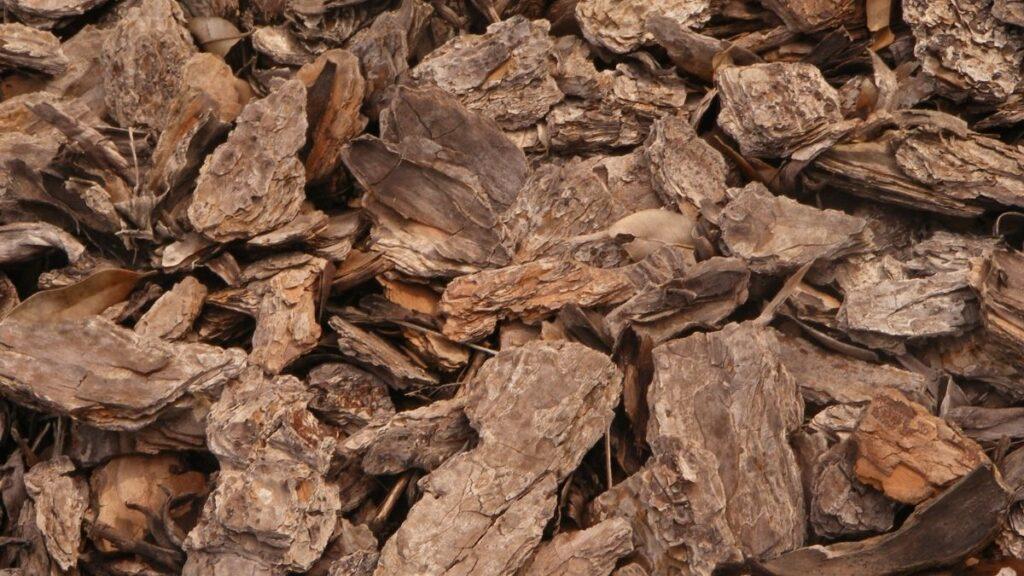
If you're using peeling barks to make smaller crafts like lanterns, heat them in your oven at the lowest setting and keep checking on them, so they don't get charred.
Some DIYers choose not to bake peeling bark at all since the pieces should be safe to use as long as the bark looks clean and isn't wet.
Step #4: Clean the Bark
Clean the bark with a paintbrush and damp cotton but don't wet the wood too much. You can use canned air to assist with cleaning, but it can sometimes break bits of bark off.
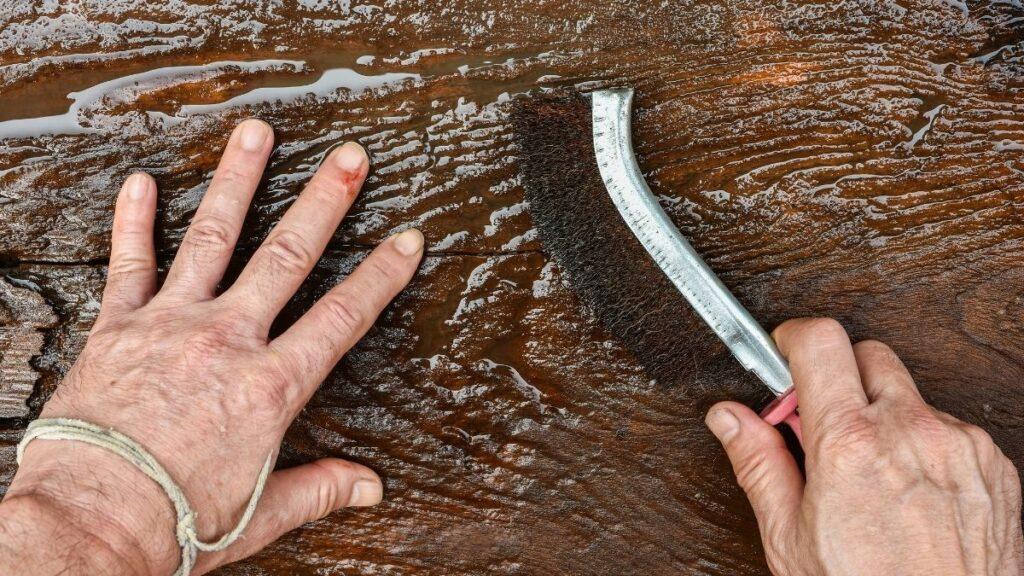
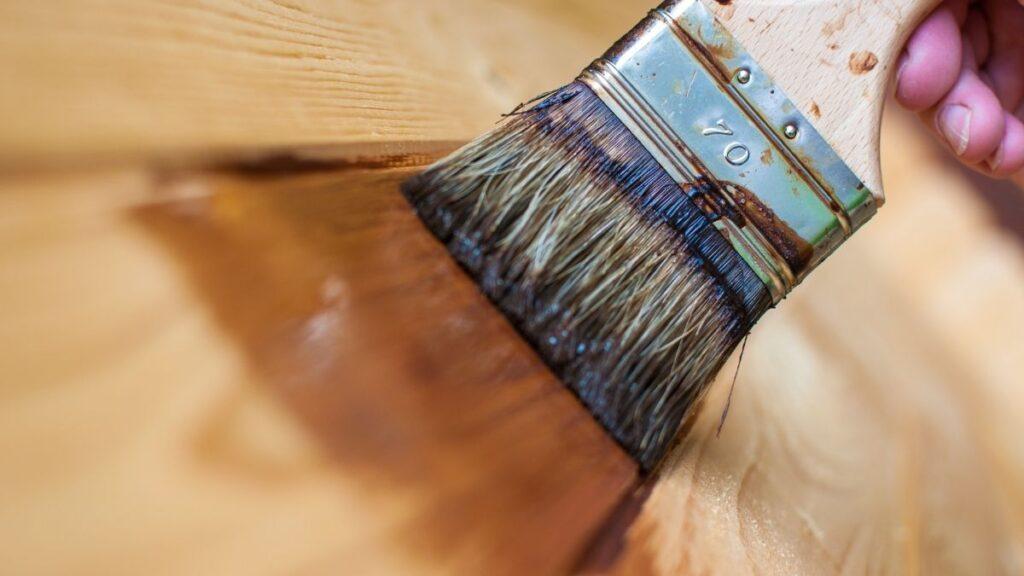
Step #5: Apply Wood Hardener
Using a brush, apply wood harder on the log and let it dry. It will reinforce the wood and also protect it from rotting. Once the wood has a plastic-y look to it, the hardener has cured. Applying a second coat isn't a bad idea, especially if the piece of wood is large.
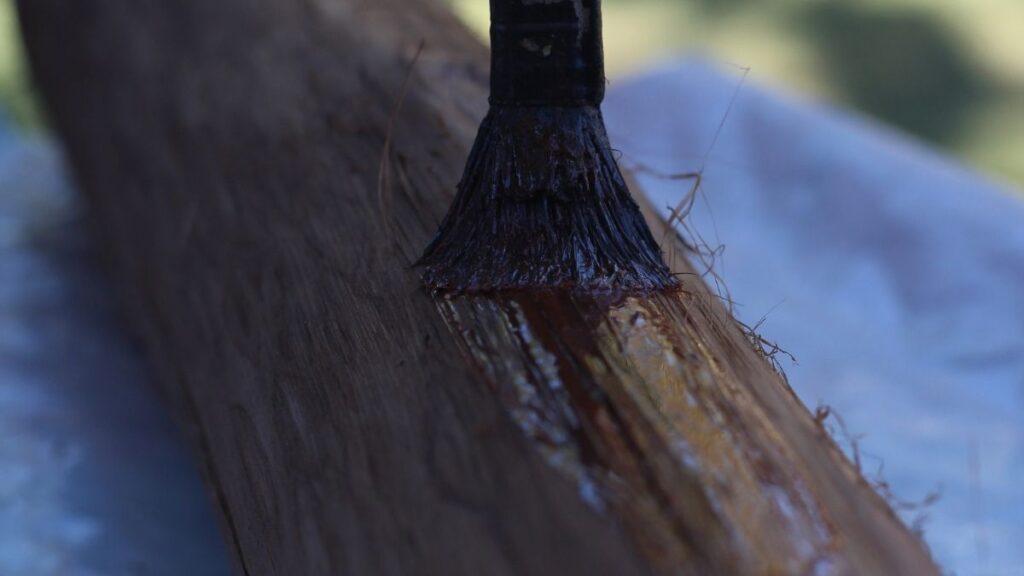
Step #6: Apply a Protective Coat
Apply a clear water-based poly coat on both sides of the log. After this, your log won't crack, shrink or swell. Alternatively, you can avoid chemicals by using tung oil as a protective coat. Put three coats of tung oil and let the log dry completely between applications.
Craft Ideas with Tree Bark
Tree bark lanterns are a rustic yet stylish addition to any living room. But I liked the idea of making a tree bark mirror to pair with the lanterns.
How to Make Lanterns with Tree Barks

Collect pieces of peeling bark and clean them up with a slightly damp cloth. Grab a jar, and position the pieces of tree bark around it. Ask someone (I asked my daughter) to wind twine around the jar. Tie knots with the twine. This will hold the tree bark in place.
You can then put candles in the jar. I love these lanterns because they give the fireplace so much more character.
How to Make A Tree Bark Mirror
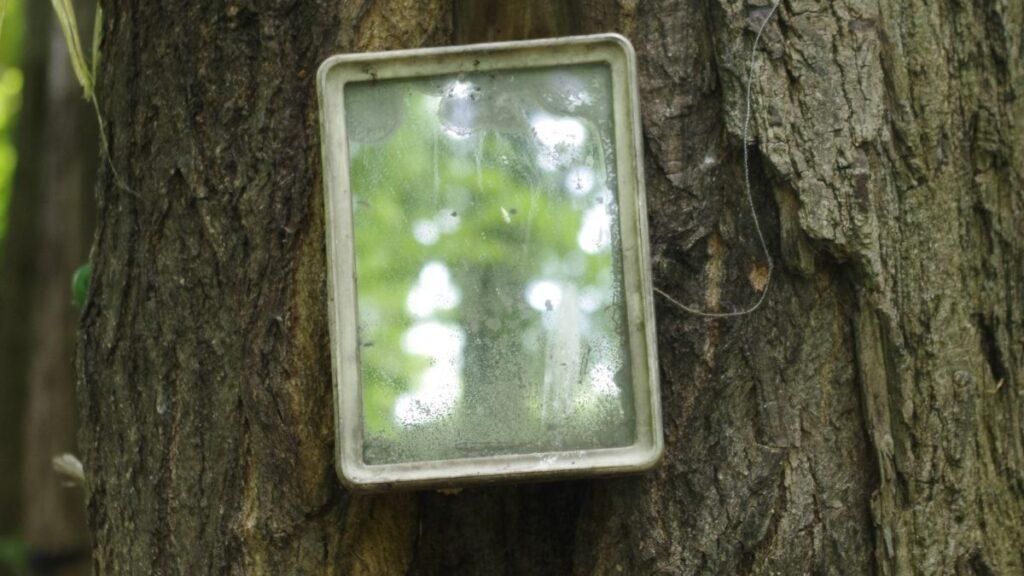
Cut cleaned pieces of bark off the log using a handsaw. Then, get a mirror of the desired size, and draw a large square in the center of the mirror with a temporary marker. Use super glue to stick the pieces of bark along the outline of the square. Cover the entirety of the mirror outside of the square with tree bark.
After the glue dries, you will have a beautiful-looking mirror with a tree bark frame to hang in the living room.
How to Make a Tree Bark Wreath
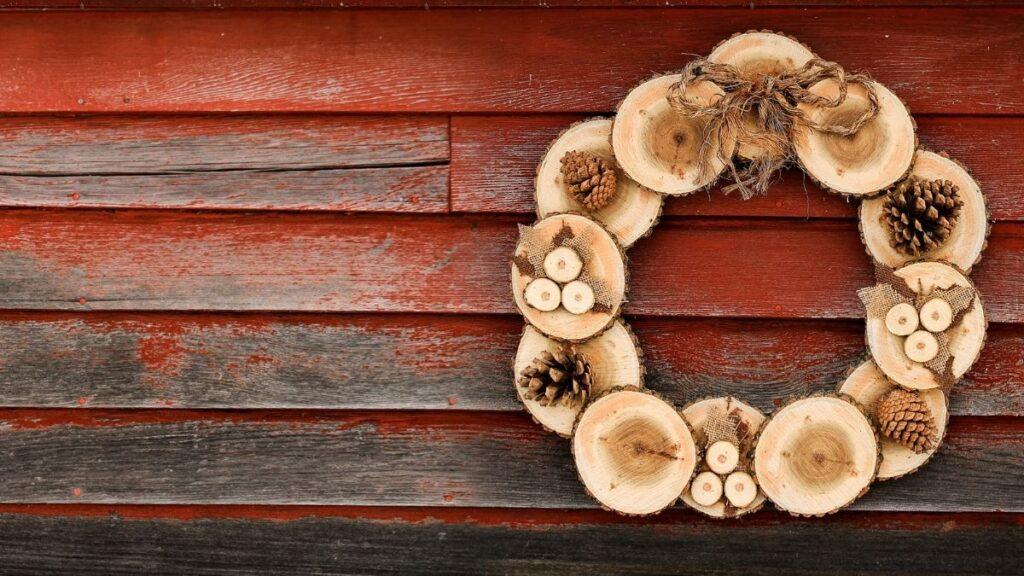
Gather pieces of peeling bark and attach them to a wreath using clamps. Then use hot glue to permanently stick the bark to the wreath. It's really that simple.
You can further decorate the wreath with pinecones, holly leaves, and berries to give it a more seasonal and rustic look.
How to Make A Tree Bark Vase
After cleaning the bark, cut the log to size — between 10 and 14 inches is best for making a vase. Next, use a tri-flute drill bit to drill a hole and hollow out the log. Make sure you stop about two inches from the base of the log.
If the log you have is wide enough, you can consider inserting a glass vase in it. If you're going to put fresh flowers in the vase, make sure you give the insides of the log a waterproof coating.
How To Clean Tree Bark For Crafts
Tree bark makes an excellent tool for building just about anything with that in-the-woods feel. Bark works great for the fall seasons on all kinds of crafts around the home that you can get your kids involved in!
Prep Time 1 hr
Active Time 2 hrs
Waiting Time 30 d
Total Time 30 d 3 hrs
Cost: $10-20
-
Hand Saw or Garden Trimmers
-
Oven Cooker
-
Paintbrush
-
Cloth
- 1 tin Wood Hardener
- 1 tin Wood Protective Coating
-
Trim or saw off any extra branches or unwanted parts of wood

-
Dry the wood for 30 days

-
Bake the wood at 250 degrees to get rid of any bugs, but check frequently so you don't start a fire!

-
Clean the bark

-
Apply wood hardener
1 tin Wood Hardener

-
Apply a protective coat
1 tin Wood Protective Coating

Drying wood out properly takesa lot of time and patience. If you live somewhere in a rural area, though, you may already have lots of wood lying around. If you want to use wood regularly for crafts, then make wood/bark collection and drying a regular event throughout the summer months so you always have some ready.
How To Clean Tree Bark For Crafts
Source: https://www.becominghomegrown.com/how-to-clean-tree-bark-for-crafts/
Posted by: edwardshimenclayes.blogspot.com
0 Response to "How To Clean Tree Bark For Crafts"
Post a Comment